

Grout and Thinset Mixing Best Practices
Posted by TOA's Blog Team on Aug 3rd 2023
Are you familiar with grout and thinset mixing best practices?
Since you can find tile installation materials and tools when you shop at Tile Outlets of America, it's critically important that you obtain the right information to be successful in your tile installation.
Over the years, products such as grout and thinset have become more high-tech to keep up with tile that has also become more complex - bigger and narrower - to install. In other words, they are less forgiving and require that you carefully follow directions to ensure that the right chemical reactions happen when they are supposed to.
In this article, you'll find a helpful reminder of what to do, when to do it and how best to do it so that when you're working with grout and thinset you'll feel confident about the results.
Grout and Thinset Mixing Best Practices
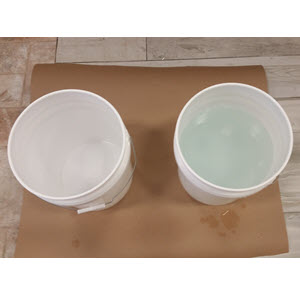
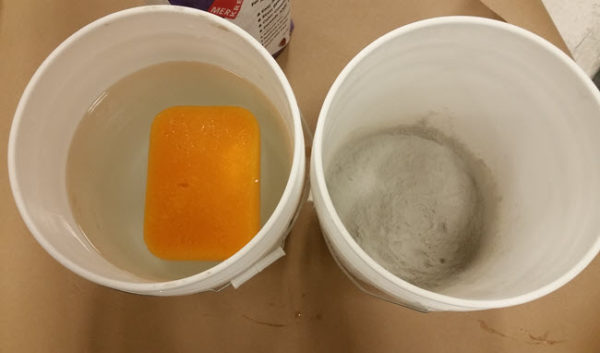
For both types of products, you must start with clean buckets, clean sponges, clean mixing tools and clean water. Also, be sure to read the manufacturers' instructions for specific details.
Best Practices for Mixing Thinset
Let's explore thinset mixing best practices first since you can't grout until the tile has been installed - using thinset mortar.
Step 1 - Keep a Clean Working Area
Use only clean buckets, clean clear water, and clean mixing tools.
Put down a piece of construction paper, or drop cloth prior to pouring powder and or mixing to keep the work area clean.
Step 2 - Pay Attention to Temperature
Temperature is a big deal and includes not only weather but also how hot (or cold) your truck gets if that's where you store materials and water temperature.
For example, if you use water from a hose that has been sitting out in the sun, that water may be too hot. And when you mix that hot water with the thinset powder it can cause the mortar to “heat up” and harden too quickly. If this occurs, it's best to throw the mortar away and mix up a new batch.
When it comes to temperature, remember that:
- Thinset cannot be used below 40 degrees or above 95 degrees Fahrenheit.
- Keep the thinset out of the sun. Excessive heat can cause a chemical reaction when the warm powder is mixed with cooler water causing the mortar to “kick” too quickly. This means the mortar will cure much quicker than normal.
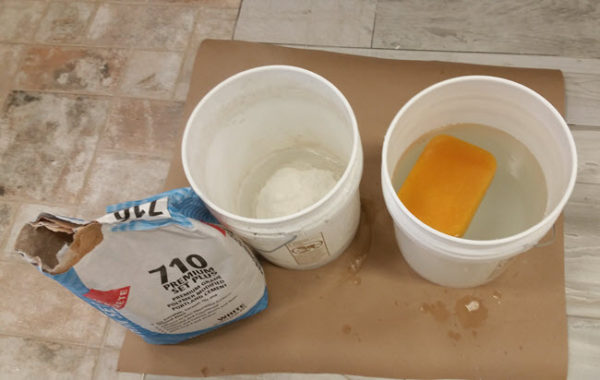
We recommend that you mix approximately 5 quarts of cool, potable water to (1) 50 lb. bag of thinset mortar.
Step 3 - Order Matters When Mixing Thinset
Add the thinset first to your bucket, then add cool water.
Next, mix with a variable speed mixer-drill at low speed. Although you can hand-mix some thinsets (read the directions), your results will be more consistent with a drill.
Let the material slake for 12-15 minutes, then remix.
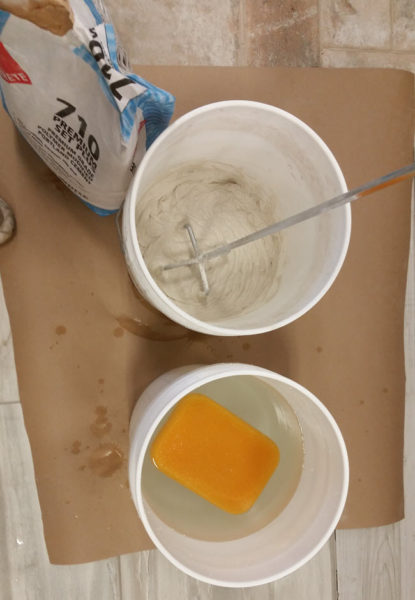
Mixing thinset with a low-speed drill and the proper mixing attachment.
Step 4 - A Word About Slaking
After the thinset has been mixed, allow 15 minutes for the material to slake. Then re-mix.
Slaking allow all the ingredients (polymers) in the mortar to be properly mixed prior to being applied to the wall or floor area(s).
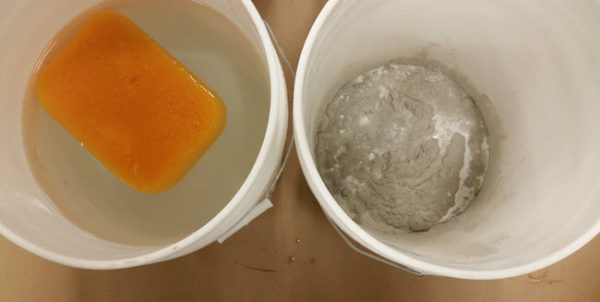
These next three images illustrate the mixing steps and the results to look for.
You'll want to mix the mortar with a proper mixing attachment on a low-speed drill.
Step 5 - Pay Attention to Mortar Consistency
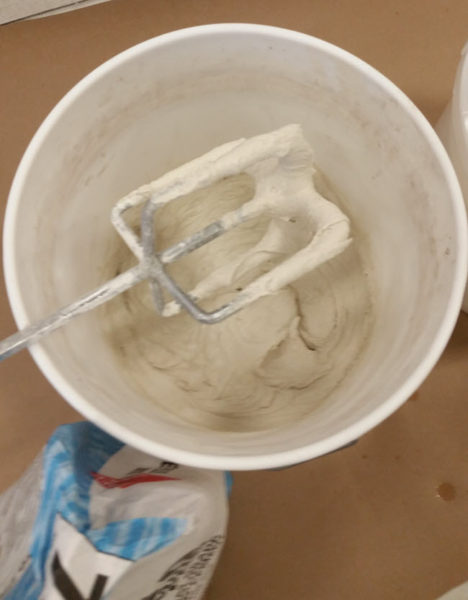
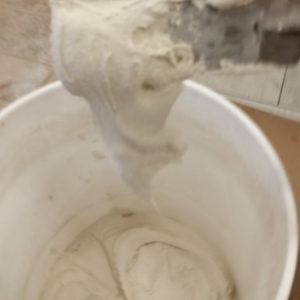
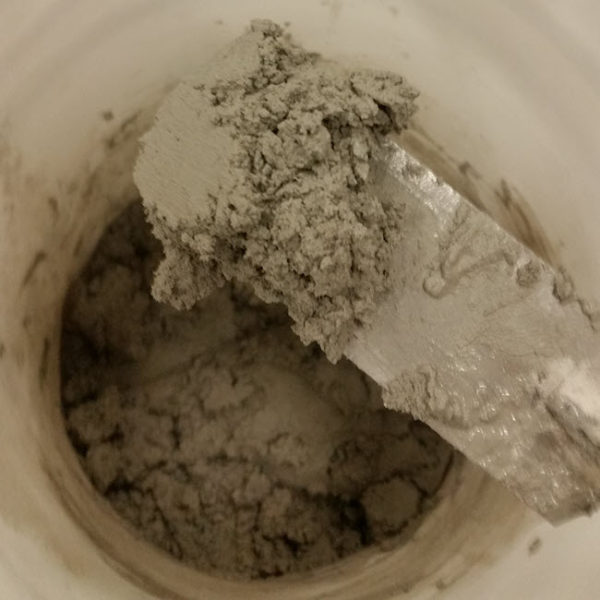
The mortar should slowly “sag” from the margin trowel after it has been mixed. If the mortar is over or under watered it will not spread properly. This is a good way to determine the proper mix of the mortar.
(Think peanut butter consistency.)
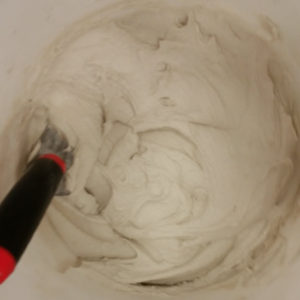
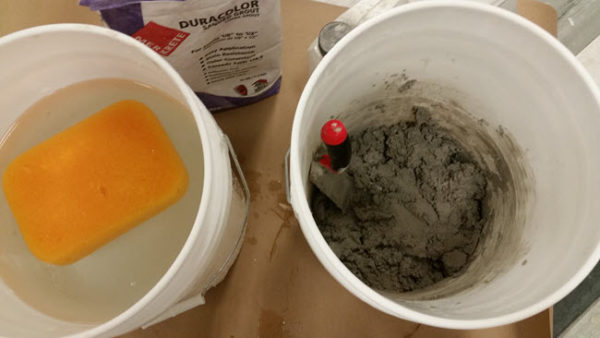
In this last picture, you see the mortar in the bucket ready for use after slaking.
Best Practices for Mixing Grout
Once you've mixed your thinset mortar and installed your tile, you'll be ready to apply grout.
Note that the tile must be firmly attached to a sound substrate and cured a minimum of 24 to 48 hours prior to grouting.
Step 1 - Keep a Clean Working Area
Use only clean buckets, clean clear water, clean sponges and clean trowels.
Put down a piece of construction paper, or drop cloth prior to pouring grout mix and or mixing to keep the work area clean.
Step 2 - Pay Attention to Temperature
Here, too, temperature matters!
Keep bags or boxes of grout and any additional latex additives out of the heat or direct sunlight for optimum results.
Work with cool, potable water.
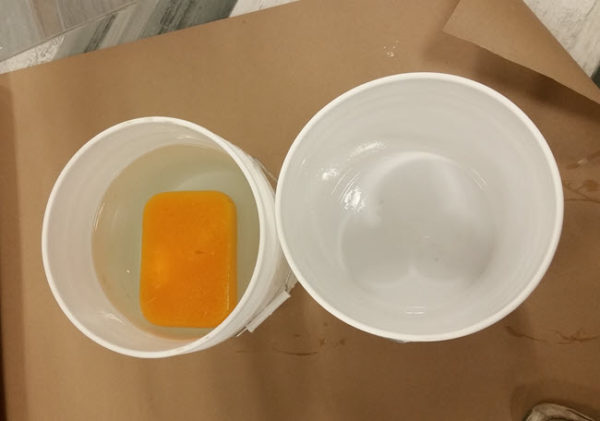
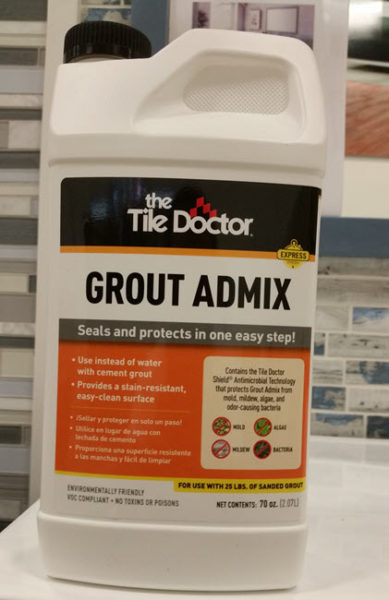
You can also work with Grout Admix instead of water. It seals and protects the grout in one-step.
Step 3 - Prepare Your Work Surface
Grout joints need to be free of loose debris, spacers and should be uniform in depth prior to grout installation.
Step 4 - Order Matters When Mixing Grout
First, pour the grout powder into the clean bucket.
Then slowly add water or the Admix to the grout.
For Admix, the ratio is (1) bag of sanded grout (25lb.) to (1) 70 oz. bottle of Admix. If you need a smaller quantity, read the bottle. It has the recommended pounds of grout to ounces of Admix.
Step 5 - Carefully Measure How Much Water You Add to the Grout
If you're working with water instead of Admix, carefully follow these instructions:
For Sanded Grout:
- Add (5) pints of cool, potable water to each 25 lb. bag of sanded grout. Be sure to add the grout to the water slowly.
- Mix the grout by hand mixing, or low-speed drill.
- Allow the grout to slake to 10 minutes, then remix.
For Un-sanded Grout:
- Add 2.5 pints of cool, potable water for each 10 lb. box of un-sanded grout. Be sure to add the grout to water slowly.
- Allow grout to relax or slake for 15 minutes, then remix.
Note that too much water will prevent the grout from properly hardening. It can also cause grout color variation, not to mention create shrinkage which in turn causes cracks or even pinholes in the grout.
Step 5 - Pay Attention to Grout Consistency
The ideal grout (both sanded or un-sanded) looks stiff but has a creamy consistency as you can see in the image below.
We recommend using a Margin Trowel (mixing trowel) for mixing grout.
When you mix the grout with a margin trowel, you'll know the grout is ready when it looks like this.
Step 6: Watch Out When Mixing Grout!
A few words of caution:
- It is okay to periodically mix the grout but don't add any additional water or additives.
- If the grout gets too difficult to work with, throw it away and make a new batch.
- Use as little water as possible for grout cleanup. Excess water used can cause grout color variation, create shrinkage which in turn causes cracks or even pinholes in the grout.
- Remember to change the water frequently. This will minimize grout haze on the tile.
- Light grout haze can be removed from the surface with a soft, dry cloth.
- If a drill is used it must be run at a LOW speed while mixing. Otherwise, it will heat up the grout mixture.
>> See Use Grout Release Before Grouting Textured Tile for Easier Clean Up
Do You Have Questions About These Grout and Thinset Mixing Best Practices?
Let us know if you have any questions. We are more than happy to help you so you're comfortable following these best practices.
Here are some other resources about grouts and thinsets:
>> What You Need to Know About Thinset or Mortar
>> How To Set Large Format Wall and Floor Tile: Merkrete Demonstration
>> Merkrete Duracolor Grout and Integra Thinset Adhesive and Grout
>> Frequently Asked Questions About Grout
>> Why You Need Grout When You Install Tile and Stone
Thanks for reading.
